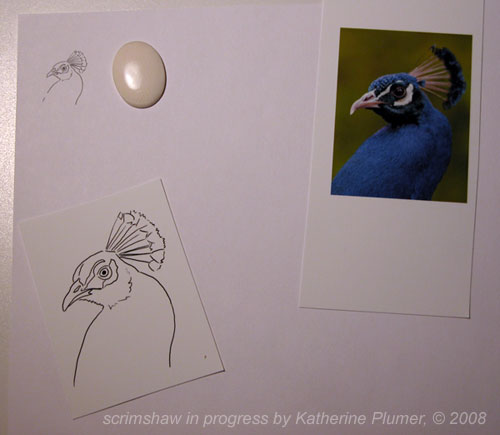
So this being fairly experimental (though I did scratch some lines on a little scrap and the results there seemed promising) I decided to stick with something small and fairly simple. A pendant. A colorful image... how bout a peacock (you're surprised I didn't pick a chicken, I know...)
Thankfully I don't have to talk about sanding, the pendant pieces are polished when I buy them, but whatever you do, make it smooth! Really smooth!
Okay, so I got a reference photo, did a b/w sketch (just to get the outline of the image, here it's the ink line drawing), scanned the sketch, shrunk it down to the size of the pendant, and printed that out at super quality. I'm just using regular paper for the printout.
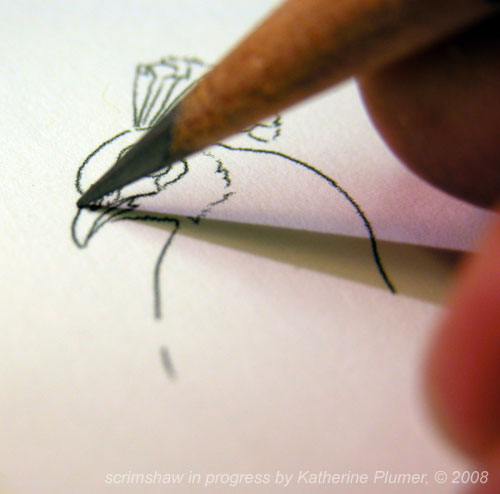
Now, if this was a flat surface I'd just tape it on there and dot the outline (see bear cub tutorial for that) but this being a domed cabochon, it's a little more work. This is how I did the transfer on the elk tooth too.
Under the scope, with a really sharp pencil (I think I used a #2), I draw over the little tiny printout.
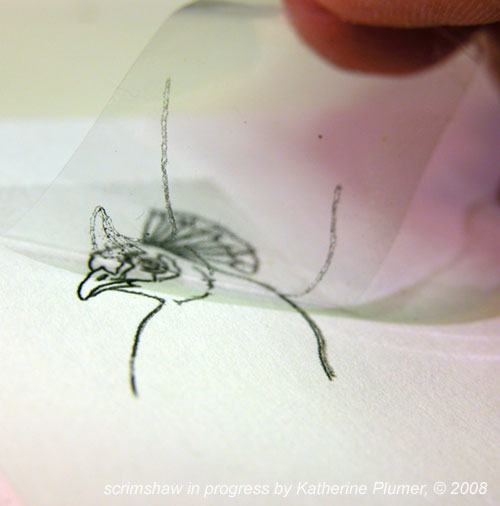
And then I stick a piece of scotch tape on there and immediately pull the tape up. Be careful, you don't want to rip the paper. See, the graphite has transferred onto the tape! Nifty eh. I know you can also do this by printing straight from your computer onto clear address labels, but that would have required me to go buy those, and tightwad that I am, this works just as well.
So, stick the tape to the ivory (or whatever), and then go ahead and dot the outline, poking through the tape and into the ivory just enough to make a dotted outline. This takes some practice to get a feel for what sort of pressure you should be using.
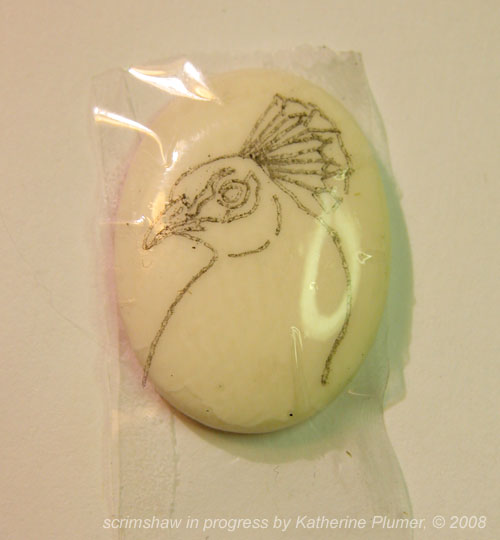
Dotting the outline:
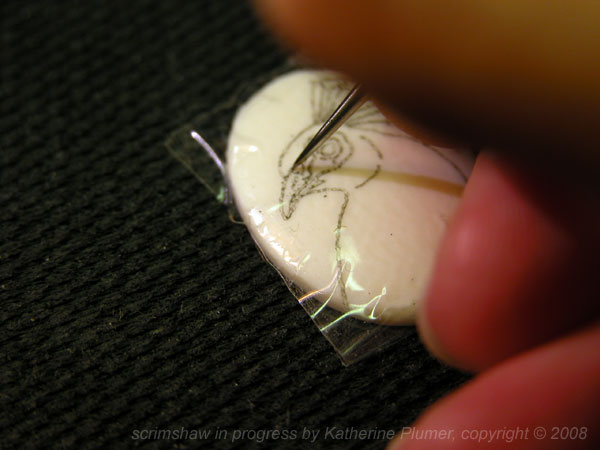
I want to clarify that normally I am holding the piece steady with my left hand. However, having only two hands, the left one gets photography duty while I'm doing these tutorials. Just keep in mind you have to hang onto these things. I don't use a vise (I don't have one).