
 |
The Internet's Largest and Fastest Growing Engraving Community
Discuss hand engraving using basic to the most advanced methods and equipment
Forum Members: 14,774. Welcome to our newest member, Chuck Norris
EngravingForum.com -
Domain since Feb 7, 2003
 Graver Video Conferencing is empty Join now!
|
|||||||
| ENGRAVING TOOLS - Paypal accepted | Classes | Glossary | Feedback | Tips | Sharpening | Bulino | Videos | Forum Policies |
 |
|
|
Thread Tools |
|
#1
|
||||
|
||||
|
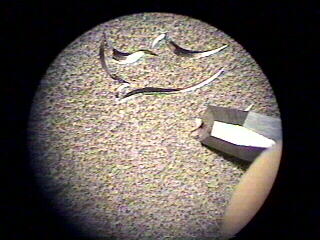
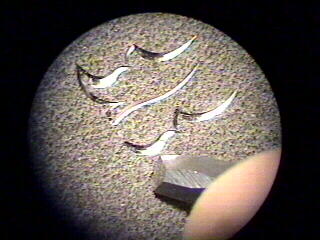
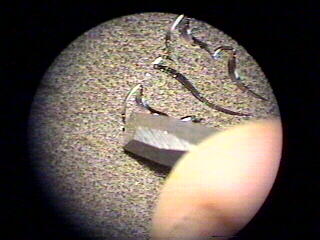
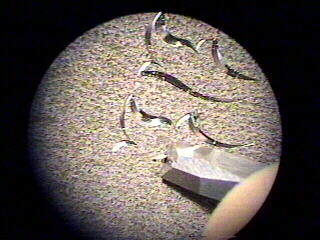
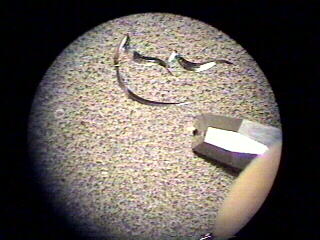
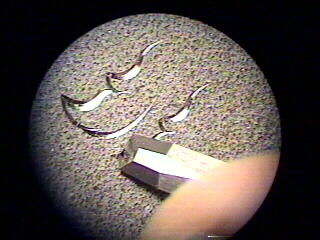
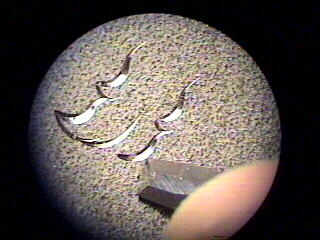
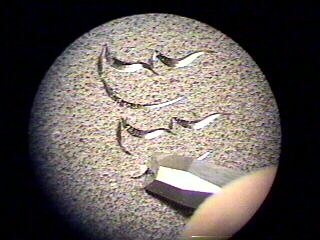
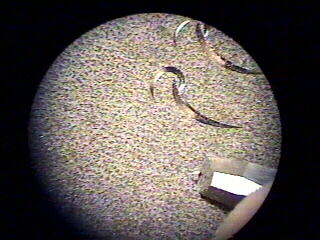
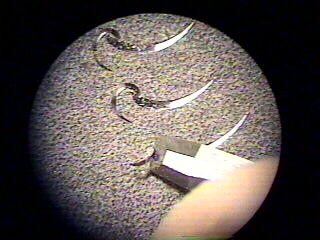
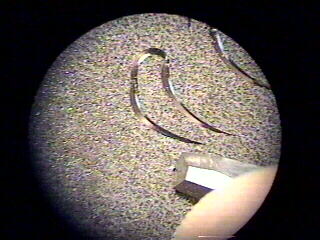
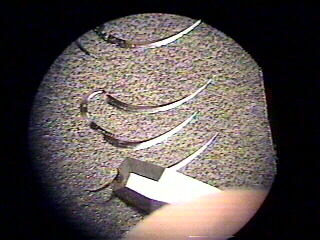
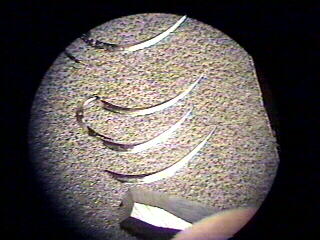
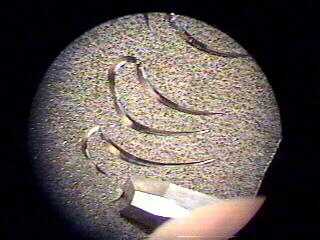
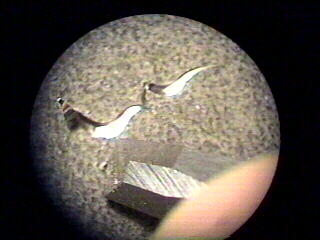
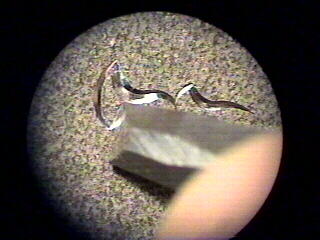
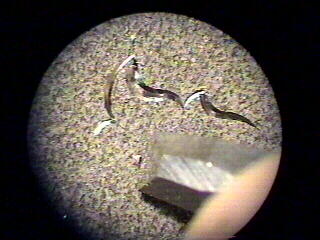
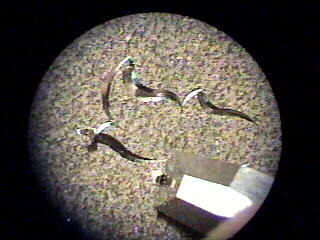
I sometimes receive questions about learning to make first cuts with the AirGraver. Below is a tutorial from the school site that should help. I tried copy-and-pasting it in this post but if the formatting doesn't display well here you can visit the page on the school site to see it. Tutorial 1 I want to stress treating the practice plate like a piece of scrap paper. Feel free to doodle on it just as you would a sheet of scratch paper, as if you were learning how to use a pencil or paint brush. Later, when you feel comfortable and more confident with the graver, you can make a more formal plate for presentation. Start with some straight line cuts that taper in and out evenly. This is going to help you learn to coordinate the foot control with hand movement. Set the AirGraver length of stroke so that half to 3/4 of the first exhaust hole is showing, and set the drive regulator (the regulator on the right) to 25 to 30 psi. Note: the metal used in these videos is from OnlineMetals.com. It is 2"x 3"x 3/8" thick (1018 cold rolled steel). The plate is as received from OnlineMetals, with no extra preparation of the finish. If you want a better finish for a presentation plate, you can take the time to sand (by hand or with a belt sander) through the sandpaper grits, but for scrap practice plates this isn't necessary. More info on practice plates 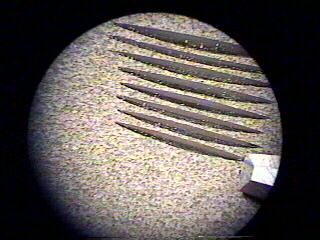 The angle of the graver to the metal is going to start high, scoop in and then slowly out. Make the cuts approx 3/8" to 1/2" long. 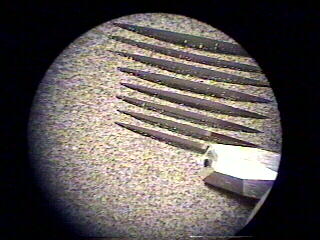 It is similar to the action of scooping ice-cream out with a spoon, but with less arching movement. 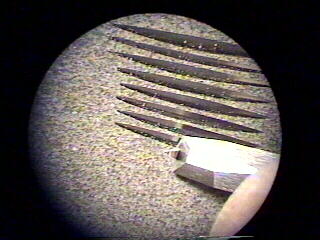 The scooping into the metal is the easy part, but now as you come up out, you need to back off the throttle just as slowly as you increased it. 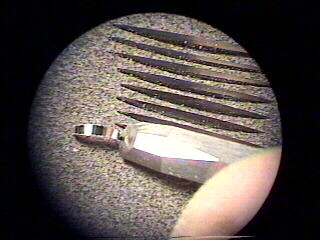 You also need to be careful coming up out of the metal to decrease how much pressure you are using to hold the graver in the cut, so that when you get to the end you don't slip out across the plate. Straight line video: Tutorial1a.wmv Arc Lines
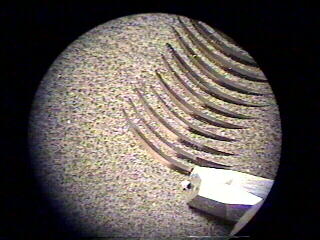 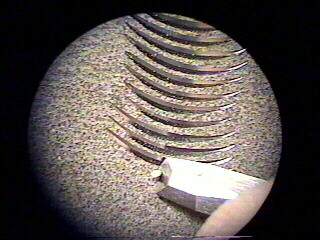 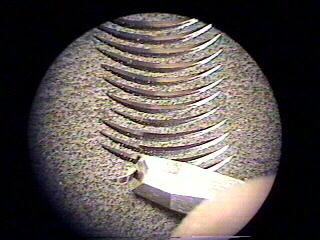 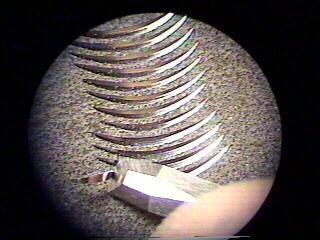 Flared arc cut
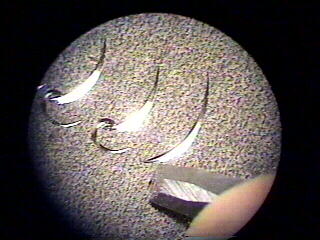
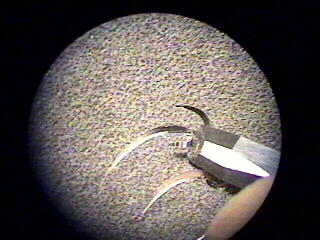
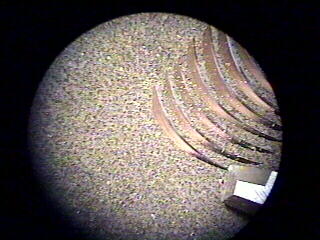 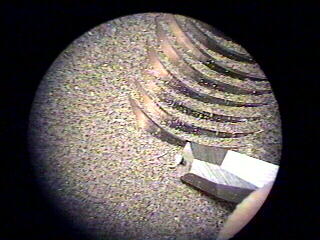 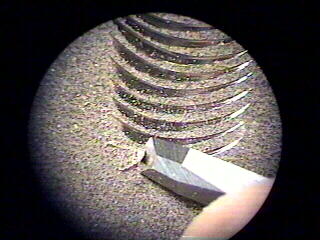 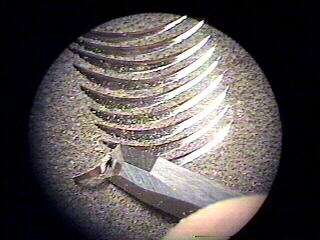 Motif A Now we start to put the cuts together to form some motifs. First do an arc cut and flare it some if you like, and add a small radius arc top to it. The small cut is the same arc cut we have been doing, but not as deep. Video 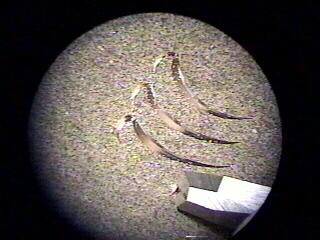 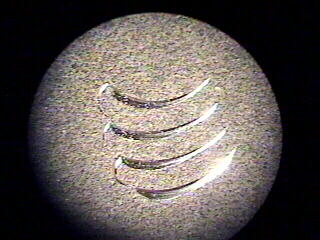 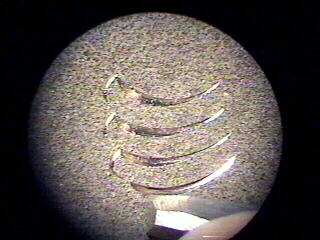 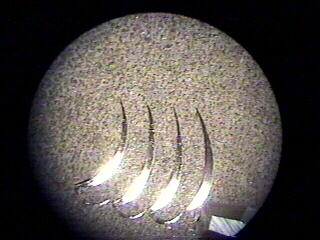 Motif B The first two cuts in this are the same as above but now add an additional gentle flared 'S' and another arc to form a leaf. Video 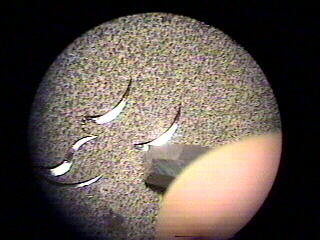 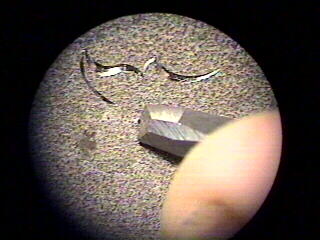 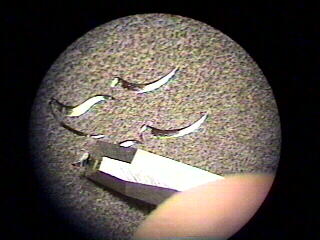 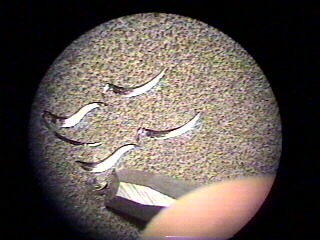
__________________
__________________________________ Steve Lindsay AirGraver.com EngravingArtist.com |
|
#2
|
||||
|
||||
|
Thanks Steve!
Not only good AirGraver practice but good basic practice overall. ![Thumb[1]](/images/smilies/top smiles/thumb[1].gif) Plus I like how it shows what I feel is the real magic of Engraving: You take this little tool and it cuts lines in metal. You make a simple cut, then a couple more and... there's a leaf! People think engraving is tedious but to me it's just like Assembly language programming. Everything you do is, in and of itself, very simple and easy - heck, the most complicated thing in everything you show above is a flared S cut and how hard is that? But if you keep doing those little, simple things they add up. And if you add them together the right way you wind up with something wonderful! |
|
#3
|
|||
|
|||
|
little things make the whole? you got it.
.... but does it go side ways? d |
|
#4
|
|||
|
|||
|
Thank you for these hints Steve. A year ago when I picked up an engraver for the first time this is the very tutorial I followed. Starting with the very simplest line and filling a prac plate with them then onto the gentle curves and another 100 or so swoops. It helped tremendously. Little steps that lead to more complex forms. I think from viewing many beginners attempts, that they give in to the temptation to do a complex pattern or design and become discouraged when the result is messy.
![Hurray[1]](/images/smilies/top smiles/hurray[1].gif)
__________________
"Never attribute to malice that which is adequately explained by stupidity" |
|
#5
|
||||
|
||||
|
This is very instructive. Thanks a lot Steve Lindsay.
|
 |
| Bookmarks |
| Thread Tools | |
|
|