
 |
The Internet's Largest and Fastest Growing Engraving Community
Discuss hand engraving using basic to the most advanced methods and equipment
Forum Members: 14,761. Welcome to our newest member, AnicaLin
EngravingForum.com -
Domain since Feb 7, 2003
 Graver Video Conferencing is empty Join now!
|
|||||||
| ENGRAVING TOOLS - Paypal accepted | Classes | Glossary | Feedback | Tips | Sharpening | Bulino | Videos | Forum Policies |
 |
|
|
Thread Tools |
|
#1
|
|||
|
|||
|
Greetings to this beautiful and inspiring community,
My name is Daniel, and this is my first participation in this forum. I am from Lisbon and I come from a tattoo background, Iíve been doing it since 2012 but been close to art in general all of my life. Itís been some years since I participated in a forum so letís see if I can still do this ![Smile[2]](/images/smilies/top smiles/smile[2].gif) I just acquired a classic engraving set after many many years of lust over these amazing tools. Finally I had the opportunity to get one and here I am- I have already played with the universal point a bit, but I think Iím struggling now with understanding how to sharpen the other points (is this how they are called? Is it gravers?i suck at labelling and naming things that are not in my language. Iím sorry) I have searched here, and I canít seem to find a guide that just tells me how to do it. Mainly my difficulty is with how much to grind on each face of the template. How far? And how does this reflect on the cut that this point does on the metal? Iíve read about angles and measurements, is there a guide ? I bet you get these questions everyday, itís my first one so bear with me ! I hope Iíll be contributing soon ![Smile[2]](/images/smilies/top smiles/smile[2].gif) Thank you all and stay sabe everyone Daniel |
|
#2
|
|||
|
|||
|
You donít need to struggle so much.. most of it is subjective... having more to do with how you use the tool rather than any particular rules.
That said there are a few things that may help guide you. The first (smaller) template is mor about creating a clearance for the actual cutting head, as well as providing some rough shaping.. you can polish this or leave it as course as you like, it will not effect your final cutting edge.. if you spend a lot of time on this one you will end up with a much smaller cutting end. How small of a cutting end you want is up to you. The small cutting tip may improve your visibility around your work.. it actually doesnít change how small you can cut.. as long as it has the same geometry the largest graver tip will cut as fine as your finest. Leaving a tool tip big will add to its versatility in terms of being able to cut bigger and deeper lines, as well as for using it to sculpt.. it sounds like i am suggesting that you should just have big tips. I am not , you will find what is comfortable to you. The main thing to bear in mind as you sharpen is keeping the facets even. I often count the strokes that i do on each facet, and sneak up on a tip that way.] The large template are for your cutting face and heal .. if you need the terminology the face is the triangular (depending on the geometry you are using) portion that drives into the metal, the heel are the two facets that are on the base of the cutting tip. The face you just grind unti you reach the tip.. then you walk through your grits until you are shiny... you will want to get up to a 600 grit at least. The heal is the pointy side of the template and you want to yes your 2000 grit diamond here.. just one quick swipe for each heal... your graver should travel about 12mm on the stone.. you may wat more.. but the best is just the barest glint for the facet of your heel. |
|
#3
|
|||
|
|||
|
Hi Daniel,
I assume you have other templates you want to use? Basically it is up to you how much you grind your gravers depending on your needs. I have some gravers grinded down to 0,5mm face for very fine lines and dots. But i grinded those gravers so small to get a better view. The cut they produce could be done with a way larger face aswell. With other words, as long as the geometry of your graver is correct and it cuts you can cut small lines even with a large face. But if the face is smaller you are limited to finer cuts. As long as you do standard engravings your graver wont dive deeper as around 0,2 mm per cut. What templates do you have? |
|
#4
|
|||
|
|||
|
Quote:
![Smile[2]](/images/smilies/top smiles/smile[2].gif) I will try to update some pics of how Iím sharpening them and maybe. I will try to update some pics of how Iím sharpening them and maybe.But regarding your observations , when Iím shaping the graver with the small template, is there no proportion required between the different faces other than they being symmetric? Thank you again for your time! Have a nice weekend . Quote:
I have acquired the sharpening set, so I have the clear one, red, blue and black. Iím not at home so I donít know the names exactly but I think it is the universal, the detailing 96, detailing 105 and the knife combo. I think I will stick to the basics for now until I get a good understanding of how it works and finD a reliable method to Consistently sharpen the gravers. When you say the geometry of the graver, what do you mean exactly? The overall shape obtained with the first template?thats one of my questions, what fazer get ground more and which ones should be ground less? Thank you again for the time and for your help! |
|
#5
|
|||
|
|||
|
With geometry i mean that all sides are correct. Symmetric, as stated above, is the better word. How much you shape the top of your graver or the two smaller sides left and right on the top does not matter. They are not involved when cutting. Maybe my image will help you further.
|
|
#6
|
|||
|
|||
|
With your tattoo background the difference is your canvas is Hard and unforgiving to an extent. Your artistic education is beyond reproach and easily going to be translated to engraving. Don't forget when you get a block (vise) to keep your turning hand below the engraving hand. WELCOME SIR
![Welcome[1]](/images/smilies/top smiles/welcome[1].gif)
|
|
#7
|
|||
|
|||
|
Quote:
That sure is, from what Iíve been experiencing there are some similarities, I find myself sometimes holding the graver involuntarily like I do the machine... I tried stippling a background and I couldnít help hold it like a machine. Thank you so much for the input! I finally came to publish some pictures of the pieces of metal Iíve been scratching. I stated playing on the wrench and couldnít hold myself so I started engraving an old air gun I assembled. I notice that sometimes I angle the graver more to one side which causes the cut not to be perfect where there is an equal margin on both sides of the center (if this makes sense). Any tips on how to improve this, or should I just focus on keeping it straight? Another thing that Iím trying to figure out is how to get a thinner cut, or a shallower one. Is this a matter of pressure or is it something that I can adjust when shaping the graver? Any tips on what angle graver for etch like shading? Iím trying to have a thinner thickness for small details. Iím sorry about the lack of specific vocabulary, not only is it a different language from my native one but also a different craft with words and terms I wouldnít use in any other situation. So Iím putting my attempts at engraving bellow followed by a couple of hunting rifles from a family member , that made realize how far I am from even looking like something acceptable! I love the feeling of building a skill though ![Smile[2]](/images/smilies/top smiles/smile[2].gif) 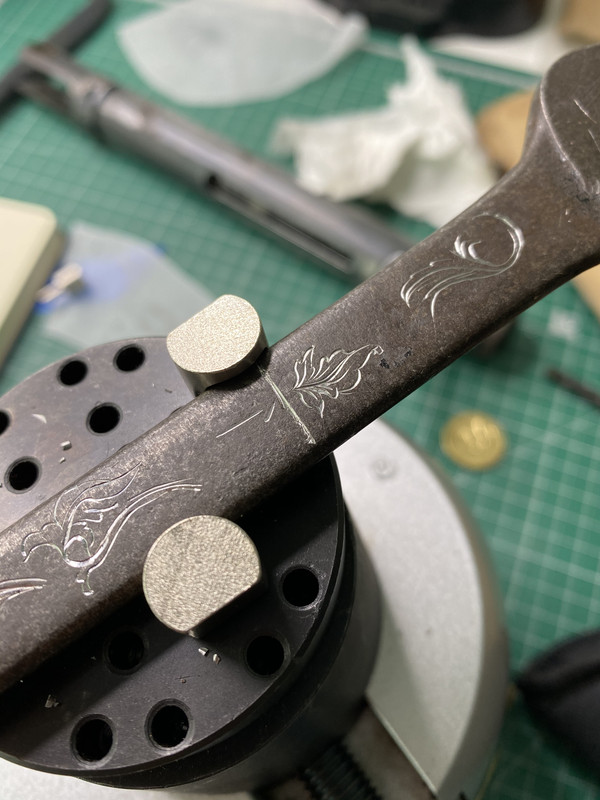 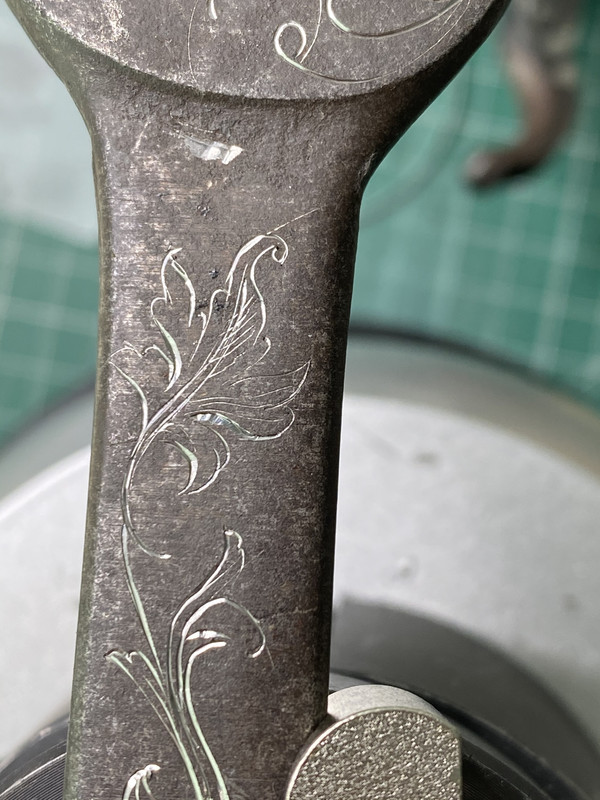 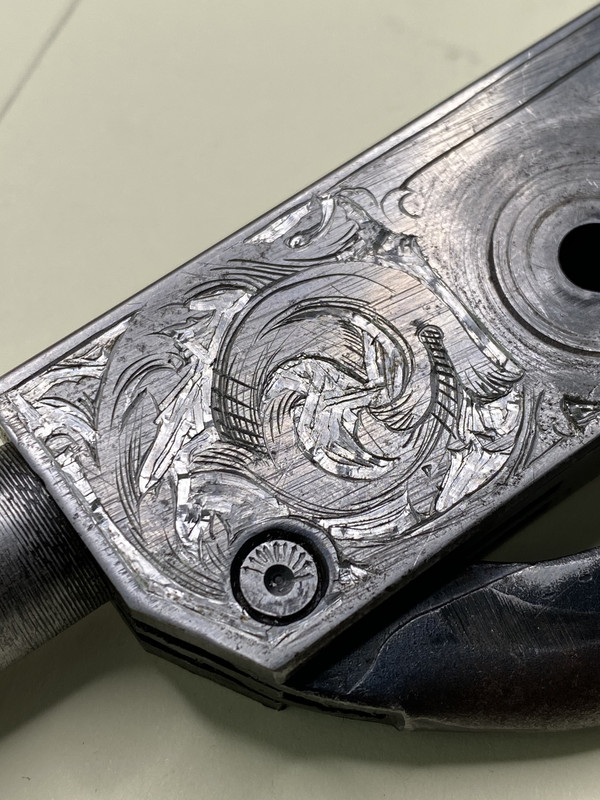 The rifles. Does anybody know the artists? 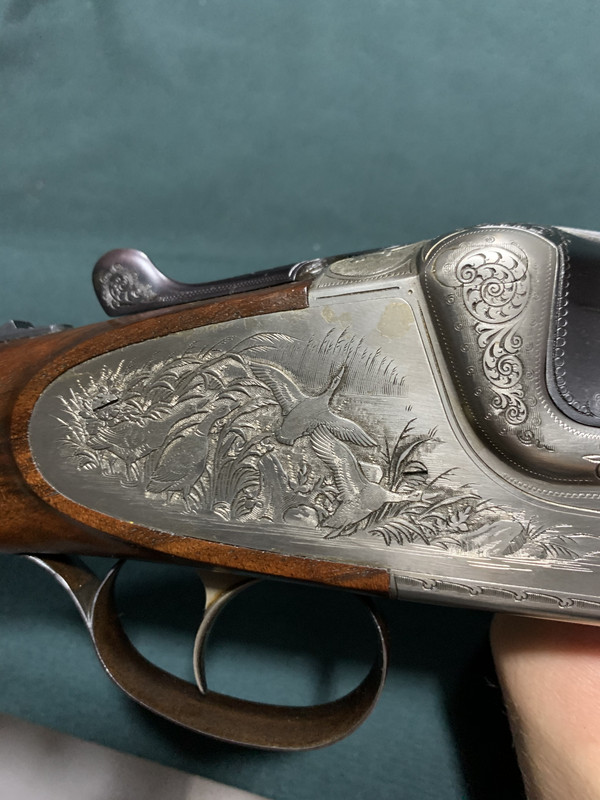 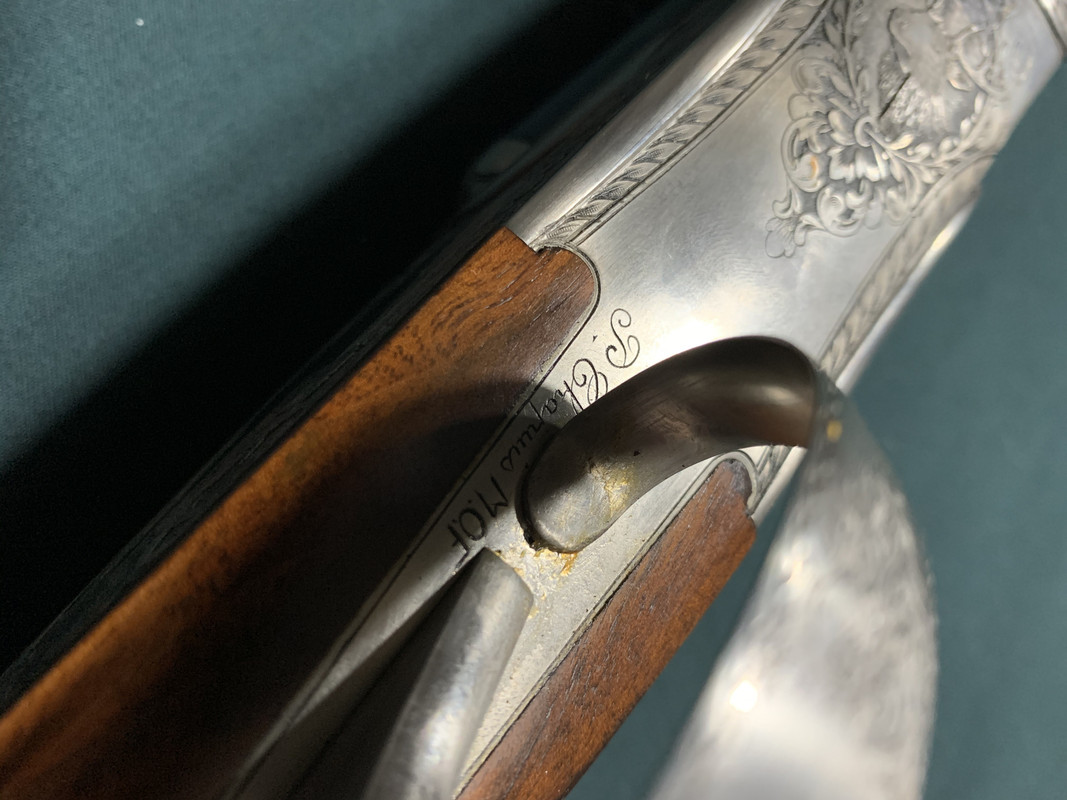 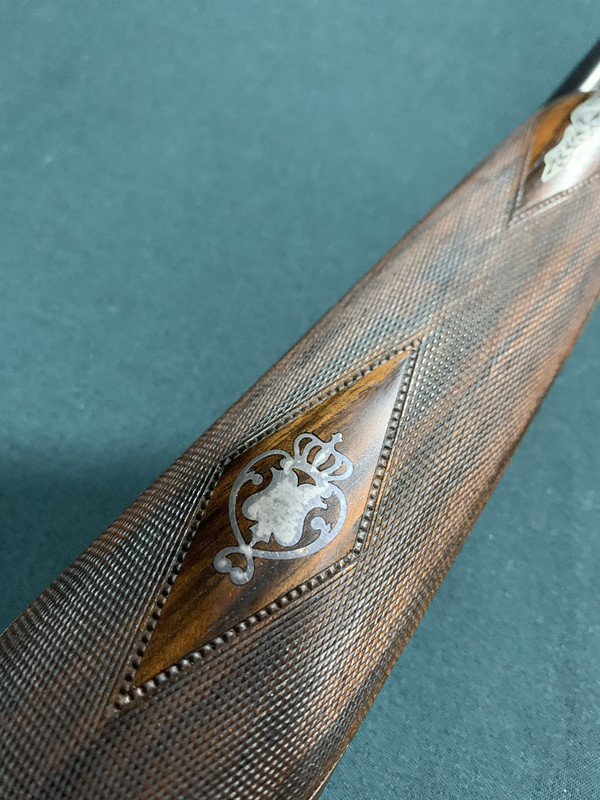 These dogs have an amazing cross etching shading, super fine and not very deep, got lost in the photo upload. 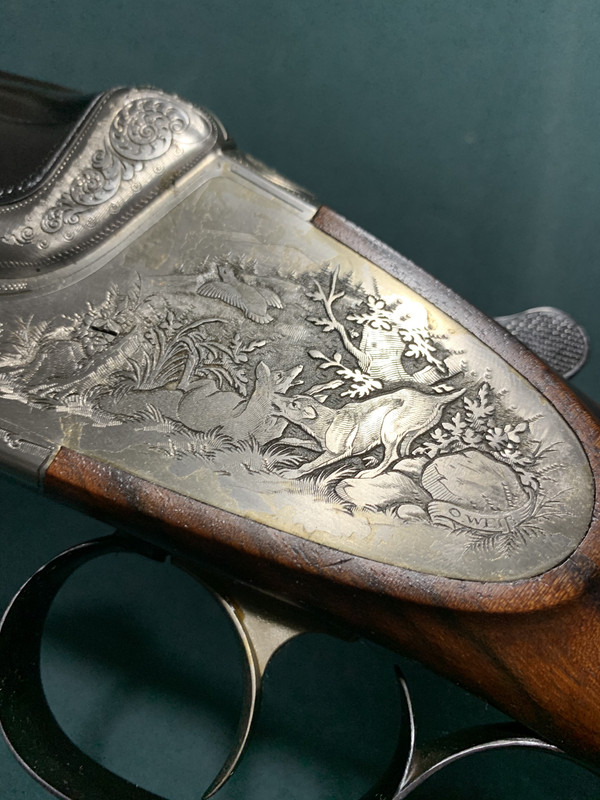 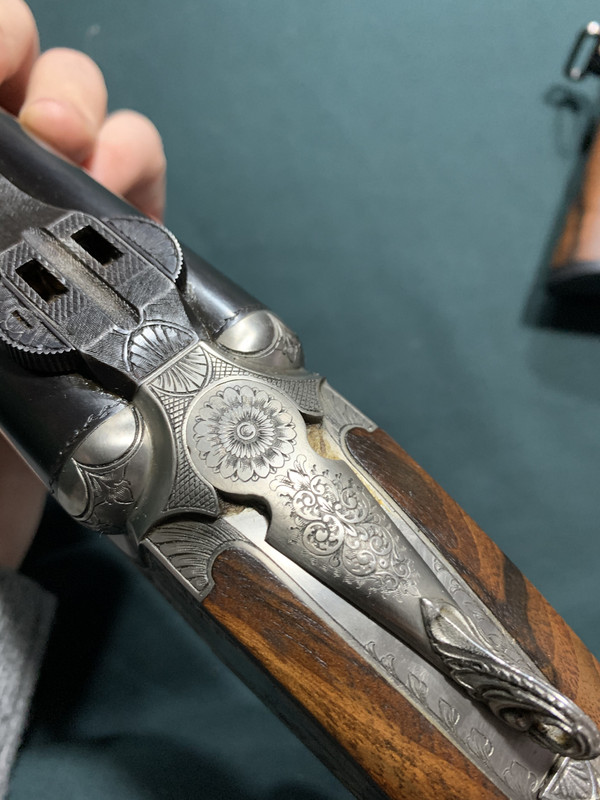 Have a good time everyone! |
|
#8
|
|||
|
|||
|
The wrench is quiet hard i guess. Do you have copper plates? You can order them at art stores. Copper is more on the soft side. At best you start practice just straight lines to get a feeling for the graver. I bet most engravers starting this way. If you can cut consistent straight lines you can start practice engraving circles over and over again. Graver control is essential. It wont make sense to start engraving leafes and ornaments without a developed feeling how to handle the graver.
If you get it with time and your lines are even on both sides you may start to lean the graver to the sides while cutting. A lines does not need to be equal on both sides of the cut. Engravers using this artistical when cutting leafes or letters. IF you later know what you are doing you can practice this aswell. Belief me, start simple with straight lines. And try to get copper plates or mild steel. I think Steve sells practice plates. Also GRS offers some steel plates that are nice to cut. Dont get me wrong, i will encourage you to stay at the bench. But dont make the third step before you made the first one. Start simple, otherwise you may get frustrated and loose the fun. Regarding the engraver, at least i know who made the side plates of the gun. It is Olaf WeiŖ from the Merkel company in germany. |
|
#9
|
|||
|
|||
|
Quote:
Thank you for the input. Thank you also for the name of the engraver! I figured out the other one, it is a french gun but I couldnít find the name of this German engraver on the guns manufacturer website. I followed your advice and got me some copper plates that I have been playing with and experimenting different aspects of engraving. I will attach some pics below, they are not great but I feel like Iím starting to understand some technicalities of engraving as I practice more and more. 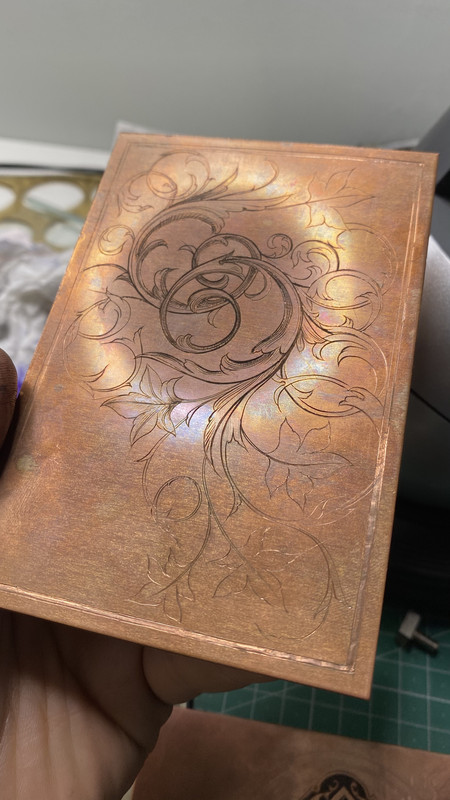 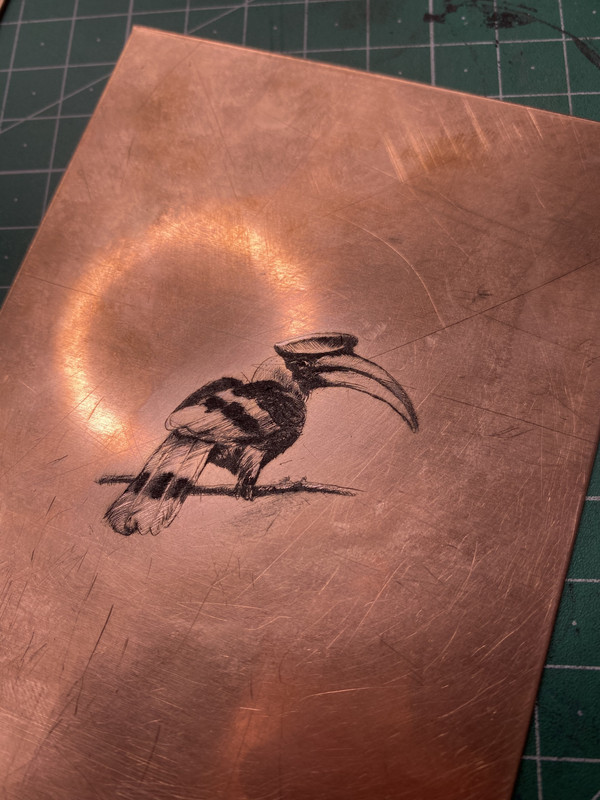 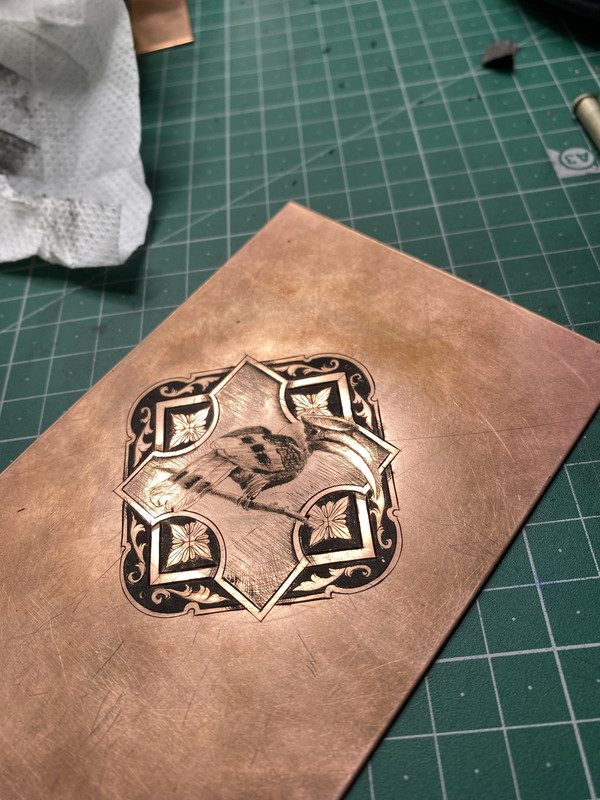 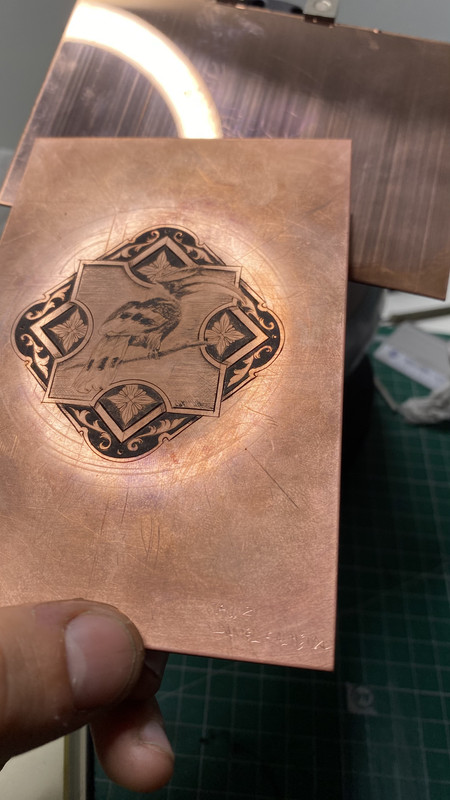 Do you also see the images with low resolution? Should I upload them with a link rather that having them directly here? Thank you again and have a great week, Daniel |
 |
| Bookmarks |
| Tags |
| beginner, graver, sharpening, staring |
|
|