
 |
The Internet's Largest and Fastest Growing Engraving Community
Discuss hand engraving using basic to the most advanced methods and equipment
Forum Members: 14,761. Welcome to our newest member, AnicaLin
EngravingForum.com -
Domain since Feb 7, 2003
 Graver Video Conferencing is empty Join now!
|
|||||||
| ENGRAVING TOOLS - Paypal accepted | Classes | Glossary | Feedback | Tips | Sharpening | Bulino | Videos | Forum Policies |
 |
|
|
Thread Tools |
|
#1
|
|||
|
|||
|
(If you would like to comment on this submission, you may do so by posting a reply in this thread. Thanks! Kaitlin)
I will be doing another buckle for this next submission, this time using 416 stainless. I have found the nickel silver to be soft and gummy as others have described on previous postings. So easily scratched too. A good experience though. I'm looking forward to working with this piece of stainless and will be posting my drawings and plans soon. At this point I've only domed the blank piece. There's no need to repost a lot of the steps and procedures done in my first submission as to the buckle construction. They will be basically the same. There are some exceptions and I will talk and show them later. I will change the shape of the blank below to one more like the previous buckle. (I think!) Design will be different and I plan to include a stone setting on this one. 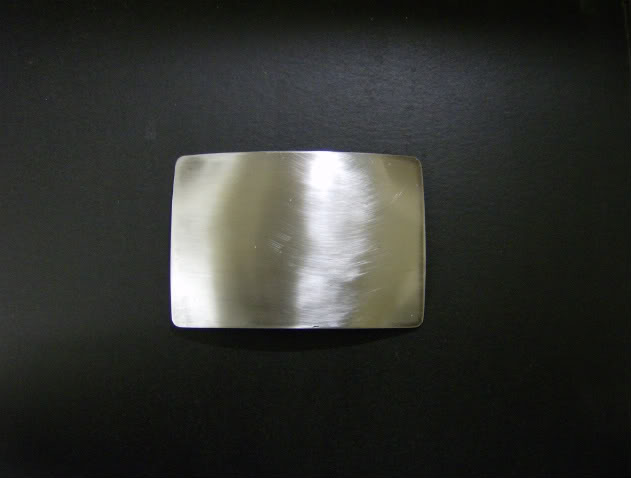
|
|
#2
|
|||
|
|||
|
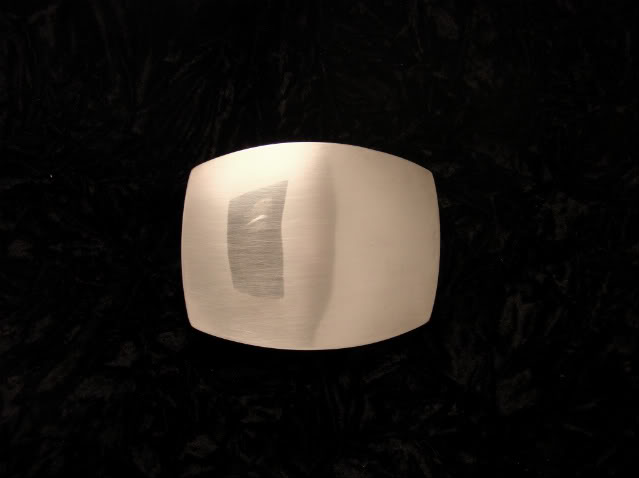
I have soldered the buckle hinge and pin on the back and marked and reshaped the blank on the belt grinder. The size is 3" x 2 3/8" and is the same thickness as the previous buckle, 14 guage. My next posting will be of some design ideas.
|
|
#3
|
|||
|
|||
|
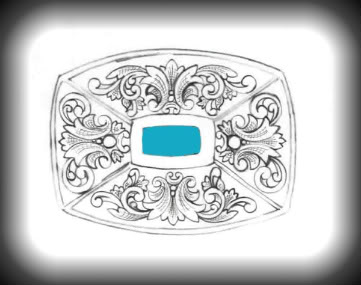
A preliminary sketch, again just and idea at this point. I do like parts of it however. I believe if I work on the 2 end designs a little more I may like it better. It is my intention to place a stone setting in the area represented by the colored center. Probably turquoise but not sure yet. There are still a few things about this design I haven't settled in my mind.
|
|
#4
|
|||
|
|||
|
Before I start laying out my design on the buckle I had to figure out how I was going to engrave the design
next to the stone setting. I've only tried engraving in tight quarters next to an obstacle such as this a couple of times before and both were a disaster. I havn't perfected that technique yet. So I had come up with a way to do the engraving with the stone setting removed thus giving me a clear shot at the buckle. Since the buckle itself is stainless steel and the setting is sterling, I knew I would have trouble soldering anyway. So I've decided to screw the setting on after all the engraving is done. However, to get the proper placement of the setting and engraving design, I had to construct and finish the setting and screw it in place so that I can plan everything else aroung that. Below is a view of the buckle blank, silver setting and stone. The setting is in the raw unpolished state. 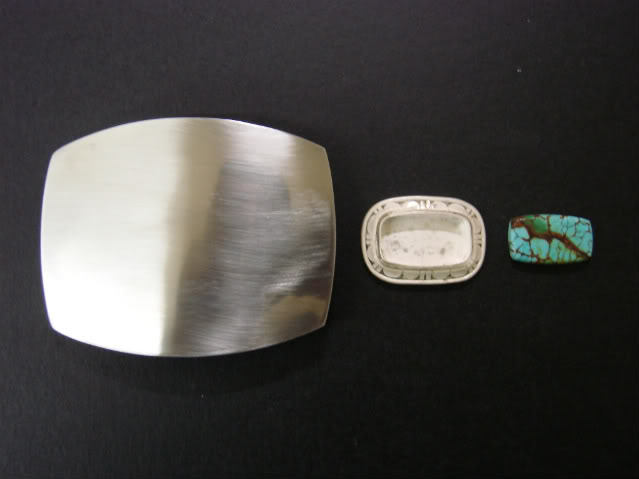 As I mentioned, I made the setting in sterling using 22 guage as the base. I had to make the setting to match the same curvature as the buckle otherwise the outer edge of the setting would stick out and probably hang up on everything, not to mention it would look funny and wierd. The photo below shows the curvature of the setting. I forgot to take a photo of it before I polished and set the stone, but you can see what I mean here.  The plan now was to have the screws come in from behind the buckle, that way I can install or remove the setting at will. In order to accomplish this with a good secure and tight fit, I cut a piece of 1/8" mild steel to drop in beneath the turquoise stone. It was later soft soldered in place in the setting. 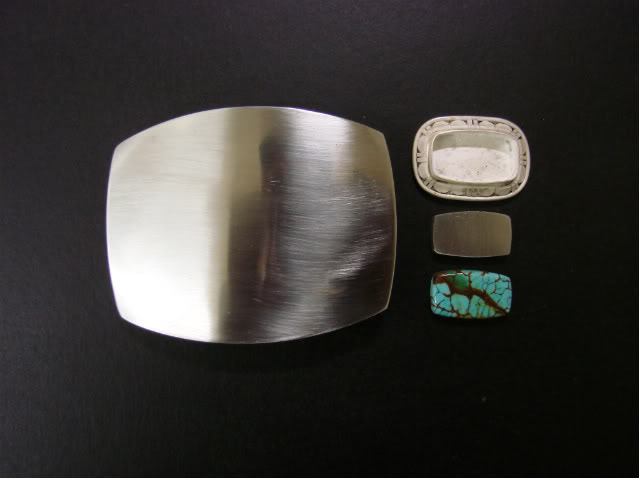 By drilling and tapping through the 22 ga. silver base on the setting (which by itself wouldn't be sufficient for any amount of screw threads) and into the 1/8" steel piece, I feel I have a good strong support for the screws. 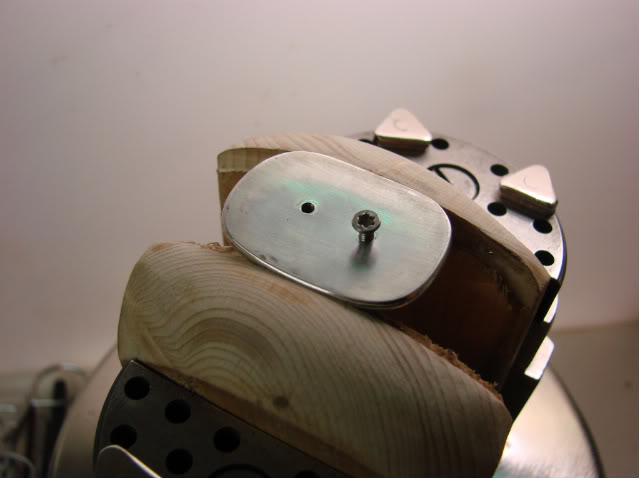 Having drilled and tapped the setting w/steel insert, I was then able to set it on the buckle blank and mark and drill for the the corresponding holes. 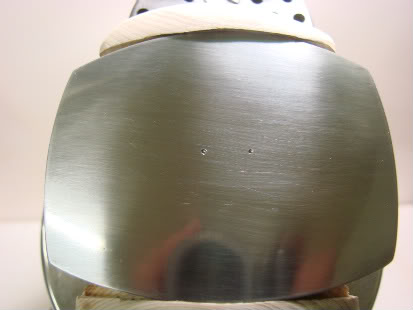 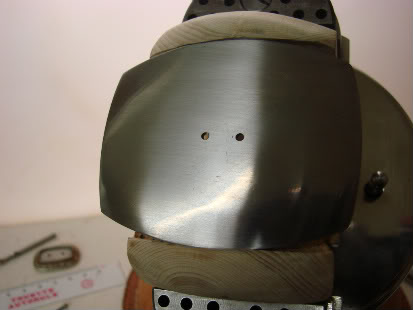 A photo of the tools used to accomplish drilling and tapping. From right to left; A) drill bit used with my foredom, B) tap and T wrench, C) #256 torx screw, same as the one in the setting ,D) and of course above the buckle is a torx driver. 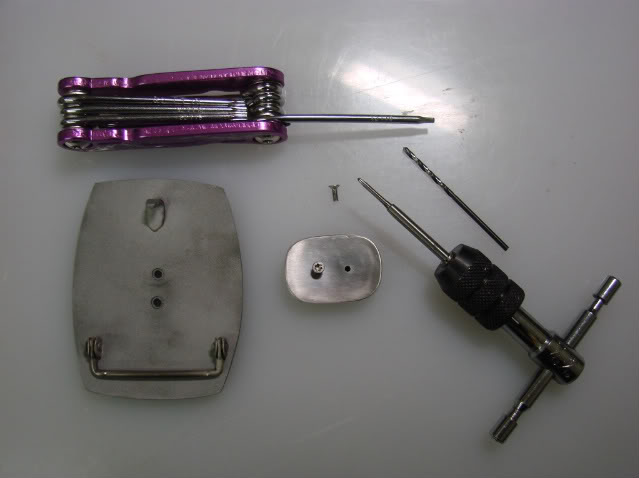 A view of the polished setting with stone set and screwed tightly in place. Now I can remove the setting any time I want or need. 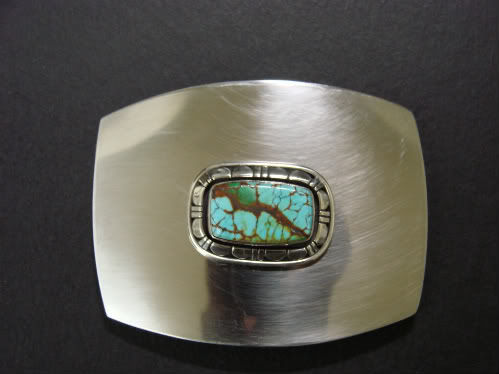 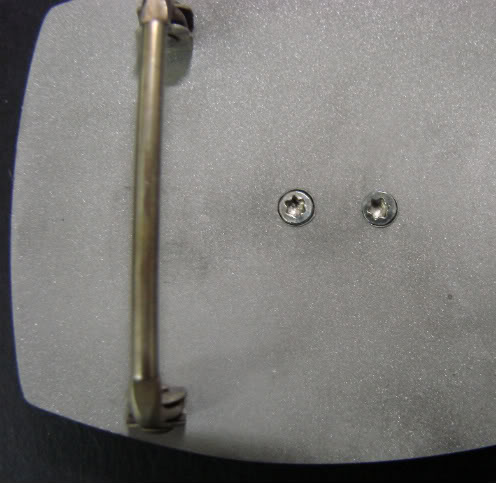 I will have to modify my design slightly because the setting turned out slightly larger than I had anticipated. However, that should not be too much a problem. Will follow. |
|
#5
|
|||
|
|||
|
Well, I got caught up with my day job and maybe now I can focus on my fun job for a
while. At Doug's suggestion, I rounded the corners of the buckle blank to conform more closely to the silver setting. I like it better now. Marked outline in the center is the outline of the setting. 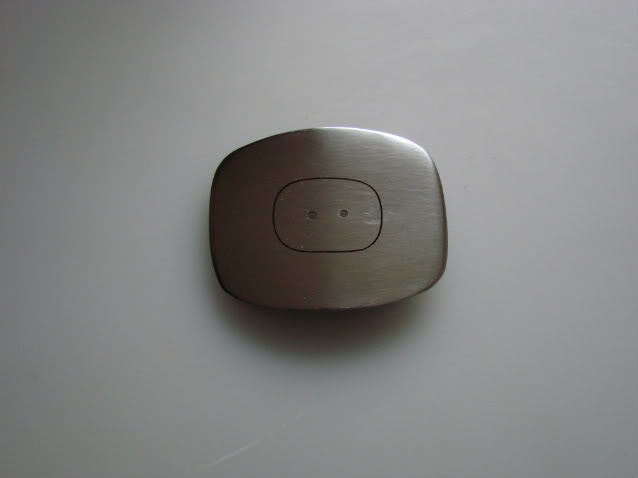 Preparing to transfer the design, I first print it out on a transparency. The rest of my transfer procedure is the same as in my first buckle submission. (sandblast technique) http://www.engravingforum.com/showthread.php?t=1873 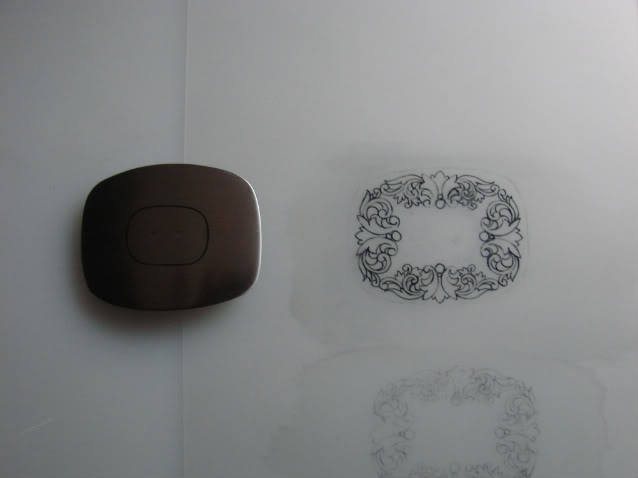 A view of the buckle with the design transfered (sandblasted) and darkened so as to show up a little better. I am now ready to start cutting the main lines. Again, the beauty of this setting is that I can now remove it to do the cutting with nothing interfering. I should have more pics soon of the main cuts. 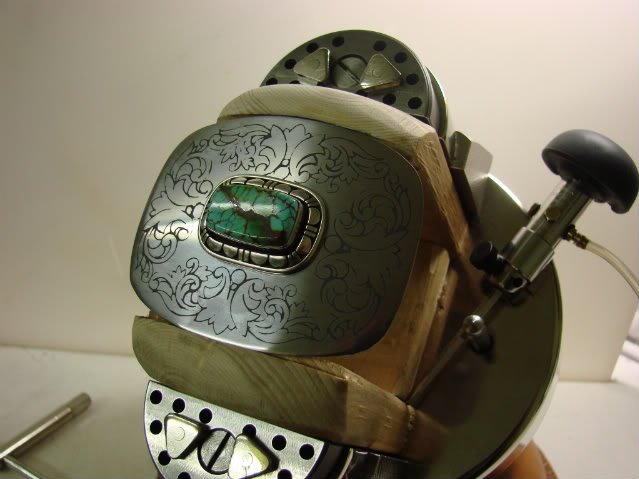
|
|
#6
|
|||
|
|||
|
Earlier I transfered the design and in this view I show the main design having been cut. I did
remove the setting to do the cutting but it is easily screwed back into place. 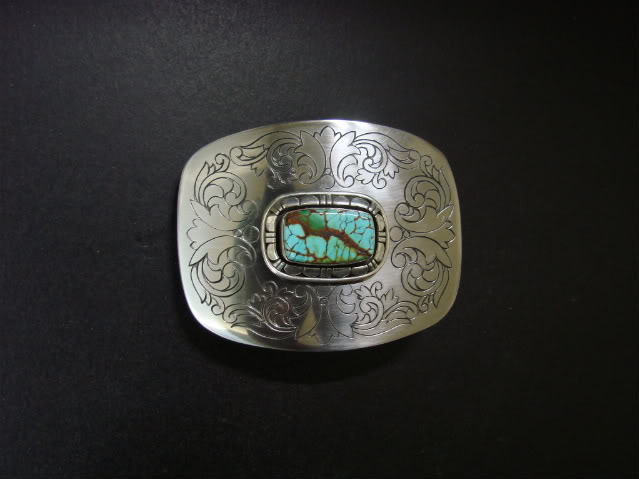 Here I've removed the background, stippled and darkened it temporarily. The next step is the shading and I am pondering a couple of techniques, will probably go the easiest and safest route for my ability. I'll explain that later. 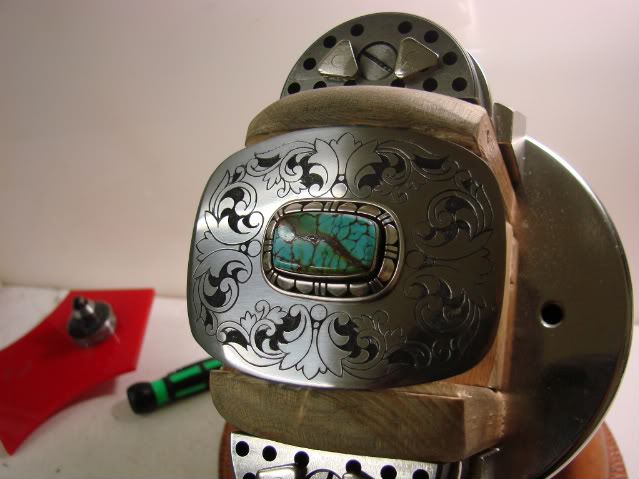
|
|
#7
|
|||
|
|||
|
A view of the completed buckle ( I think!). I'm still not sure if I should do anything with the circles. They look plain as they are right now but I'm not sure how to shade them if I do. So I will think on it some more.
Any comments, criticism, heckling or whatever are welcome. Later, I will be posting the start of a 3rd submission, so stay tuned for more. Thanks, Gene 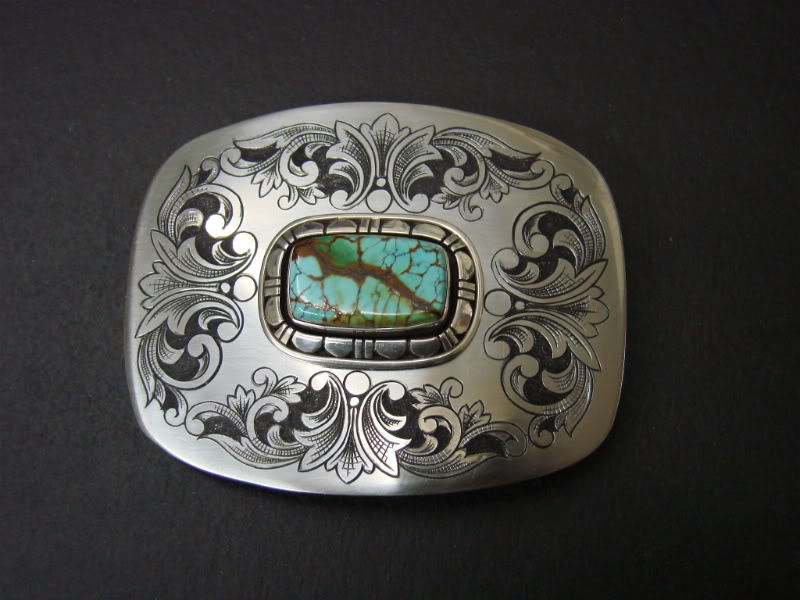
|
 |
| Bookmarks |
|
|